To the Coop-side
Big changes this week as we continue along on our Journey to the First Egg. After nearly a month in the brooder, the chickens are movin’ on up: to the coop-side!
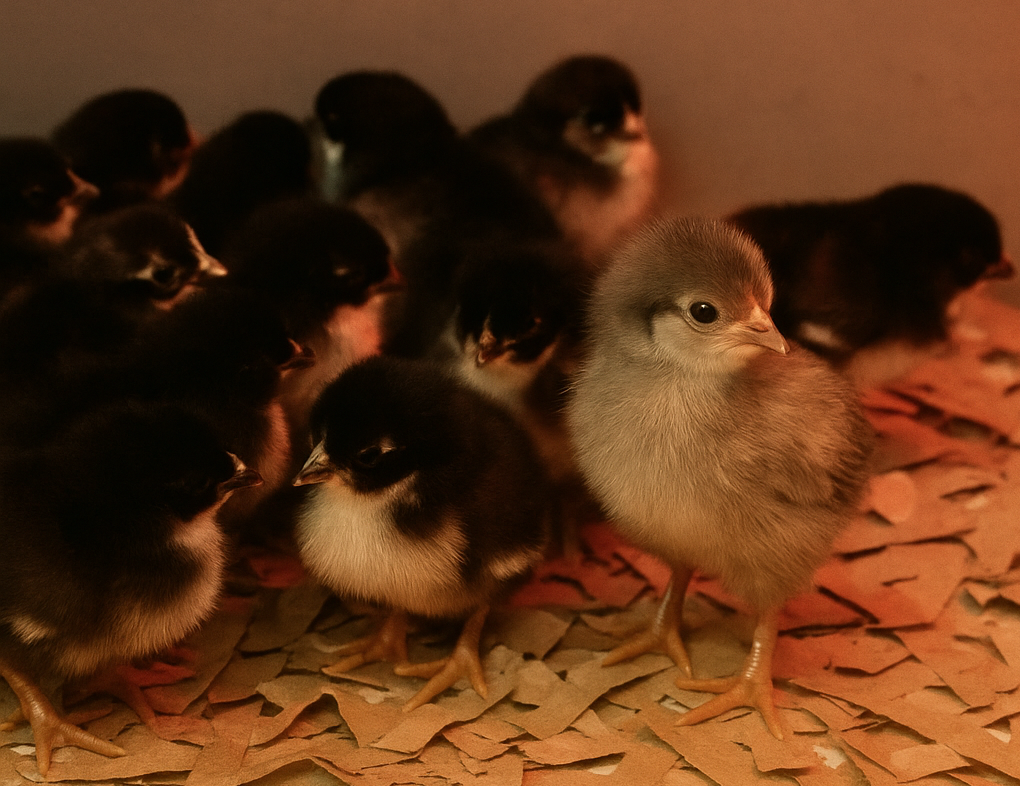
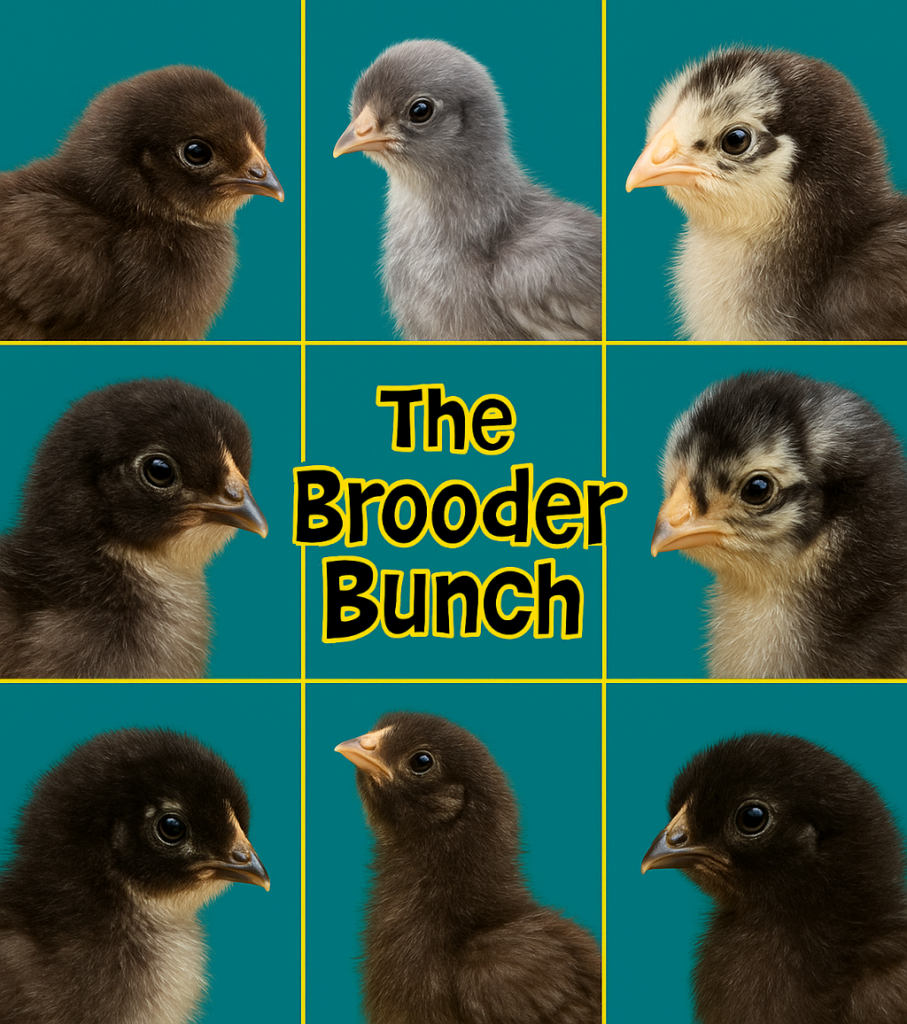
They’ve grown so quickly! They’ve officially turned from tiny puffballs into lanky, awkward adolescents with every passing day. Their wing feathers are poking out, their coloring starting to change, and some of them are even trying out new peeping vocalizations. It’s wild how different they look in such a short time frame.
Coop Setup (and Pleasant Surprises!)
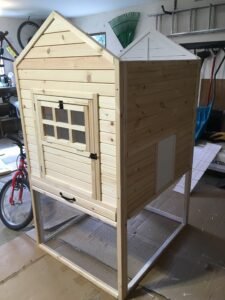
When I brought the coop home I wasn’t quite sure what to expect… it was loaded, and therefore unloaded, with the picture facing down so I had to go only on my vague recollection of what it had looked like at the store. Once we got the kit unboxed and started setup, I was pleasantly surprised! It’s actually a pretty solid unit, and the picture on the front (once I finally got around to flipping the box over) looks like a doll-house.
Way snazzier than anything I would have DIY’d.
The wood is decent quality, and the pieces mostly fit together with a bit of patience and a rubber mallet. I made sure to use wood glue so it should be built to last. As a final touch before the chicks moved in, I primed the interior with KILZ 2 All-Purpose Primer in an attempt at future-proofing. The hope is that this will help prevent moisture from seeping into the wood, make cleanup easier, and discourage any bacteria from setting up residence.
Like most things in chicken-keeping, the phrase “some assembly required” is a given.
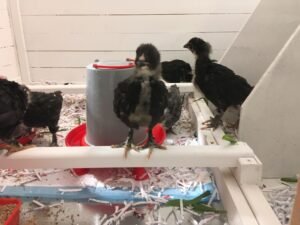
Since we’re still in the garage phase, we only assembled the main coop body. The run will be attached later when we move the whole thing outdoors. We also left the roof off for now, mostly to make it easier to hang the heat lamp securely. With the roof off and the open top, the coop really does feel like a cozy doll-house: where we get a great vantage point of the ever-growing chicks.

Features To Crow About
The coop has a few little design perks that make me feel better about embarking on this chicken journey without really knowing what I was getting into:
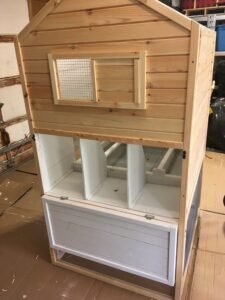
- The floor slides out like a drawer, which should make cleaning a little easier.
- Multiple doors and vents give us lots of options for airflow, especially important as the weather is starting to warm up.
- The light-colored roof might help reflect some sun once we move outdoors, and fingers crossed it also holds snow better in winter for extra insulation.
- There’s external access to the nesting boxes, which will be handy later when we’re checking for eggs.
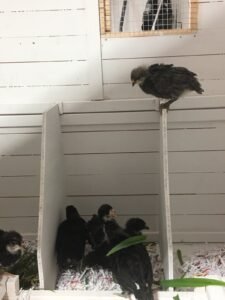
Margaret has claimed her favorite perch already: the little divider between the nest boxes lets her keep an eye on the others while staying out of the action. Even though they all have more room to spread their wings now, I still find them piled together like a feathered clump each night. Old habits die hard.
There will certainly be some weather-proofing needing: adding seals to a few doors and installing some heating panels to prepare the coop to be a comfortable home during our long, harsh winters, but that’s a problem for future-me! I’m not too worried, because whether coop building or homeschooling, when you have a good foundation and the right tools it’s a lot easier to jump into the unknown!
Helping to build a good foundation with quality tools are only a few reasons that the Tuttle Twins books and courses are some of our favorite homeschool tools. It’s always a relief to discover resources that make the big stuff (like economics, the principles of liberty, and critical thinking) simple and fun for kids, and parents, to understand! If you’re curious, their Back to School Sale on books and the Tuttle Academy Courses is on now.
What’s Next
Now that the chicks are settled into their new digs, the next task is to prep the outdoor site.
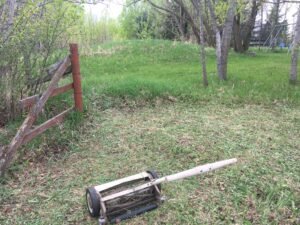
We’re still debating the final location. Sun exposure (and shelter), drainage, proximity to the house (and hose) all come into play. And did you know that chickens are naturally forest-dwelling birds? No surprise considering how much they remind us of the wild grouse we see around our property… and dinosaurs.
Luckily, we have a natural clearing surrounded by trees that should be the perfect habitat for our growing flock. With a bit of levelling, and some good old fashioned elbow grease we are hoping it will be just as easy to get the coop set up outside as it was to put together initially. But you know what they say of best laid plans!
As always, we will have to do the best we can and wait and see what demands our attention next.
Homeschool Confidential
It seems I have as much to say about homeschooling as I do about chickens, so I will be introducing Homeschool Confidential, a second post stream dedicated to my homeschool philosophy, musings & ponderings, tips & tricks and whatever else I can come up with! That way Homeschooling Chicken Lovers can continue to follow along both the Journey to Our First Egg AND Homeschool Confidential, or feel free to pick your favorite based on what interests you! I won’t be offended.
Either way you’ll want to sign up for our mailing list to get FREE Activity Sheets!
And be sure to subscribe to Margaret Hatcher’s Substack … cause that’s what the kids are doing these days!
Disclosure: Prairie Tide Projects is an affiliate of the Tuttle Twins and may earn a commission if you make a purchase through affiliate links. This comes at no additional cost to you and we hope you find this recommendation helpful. Learn more on our Partners page.